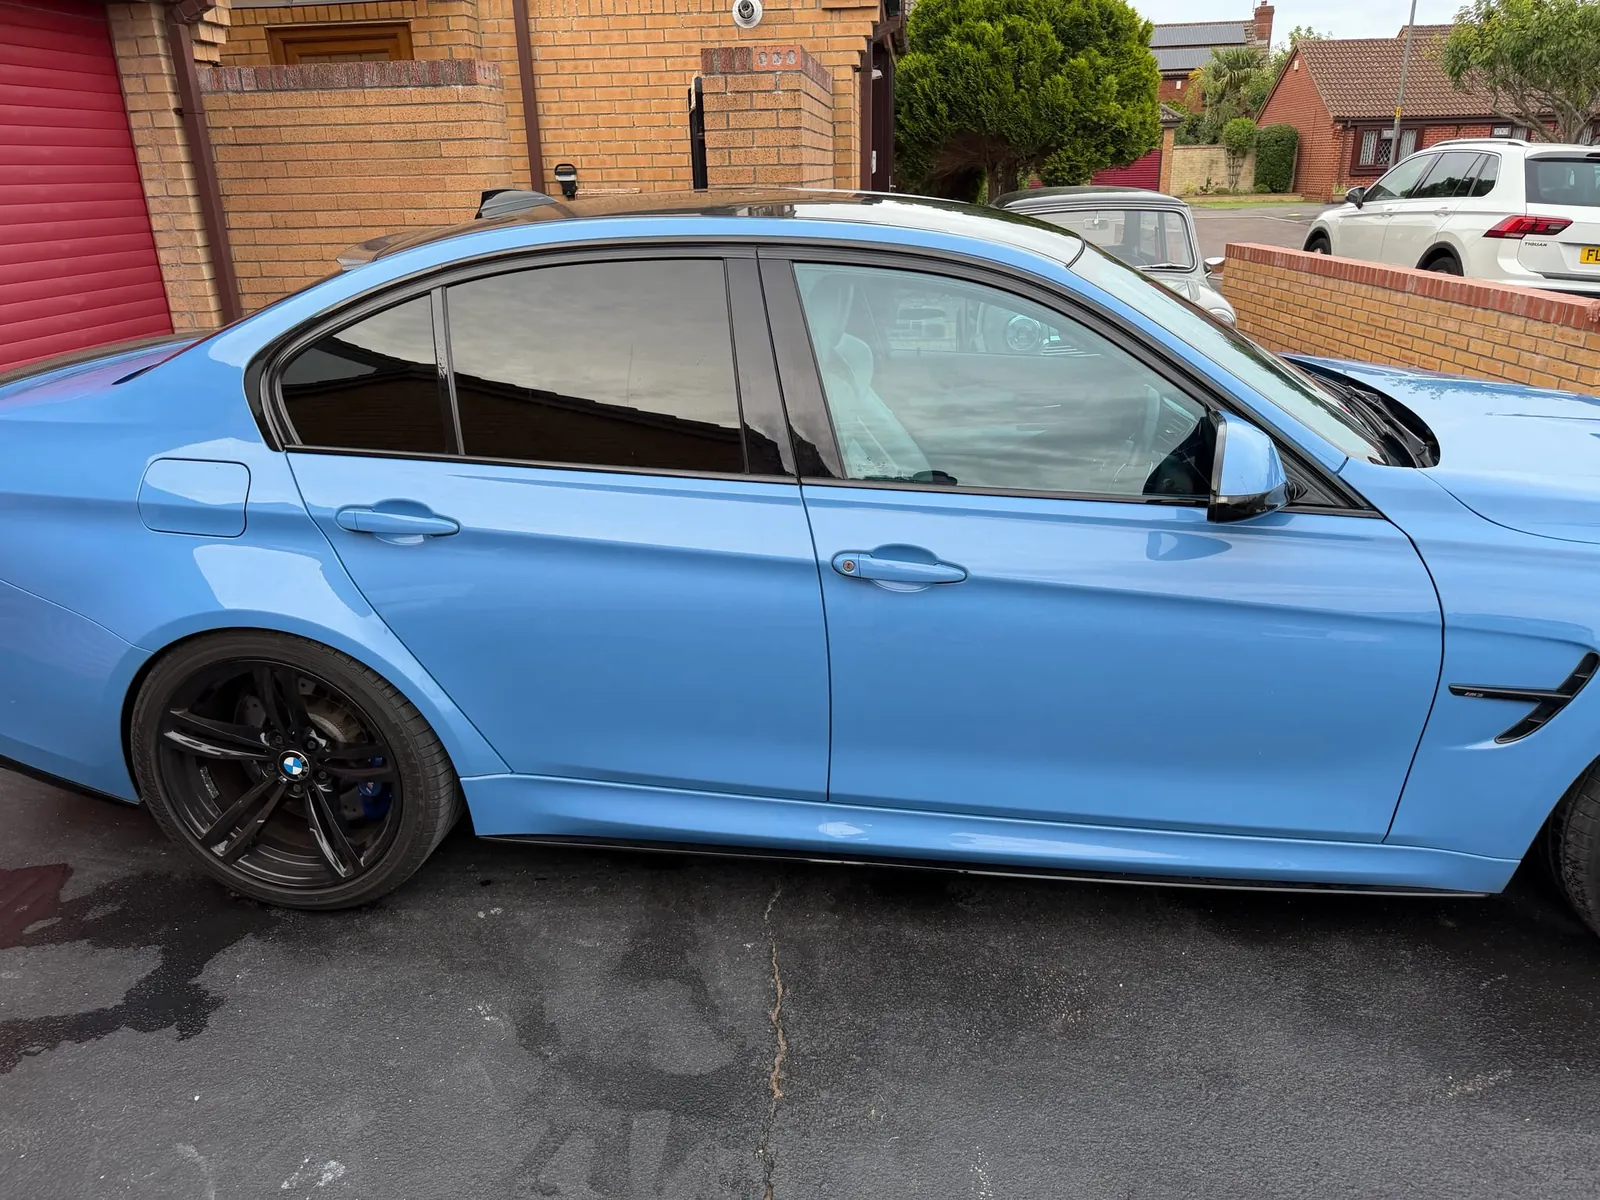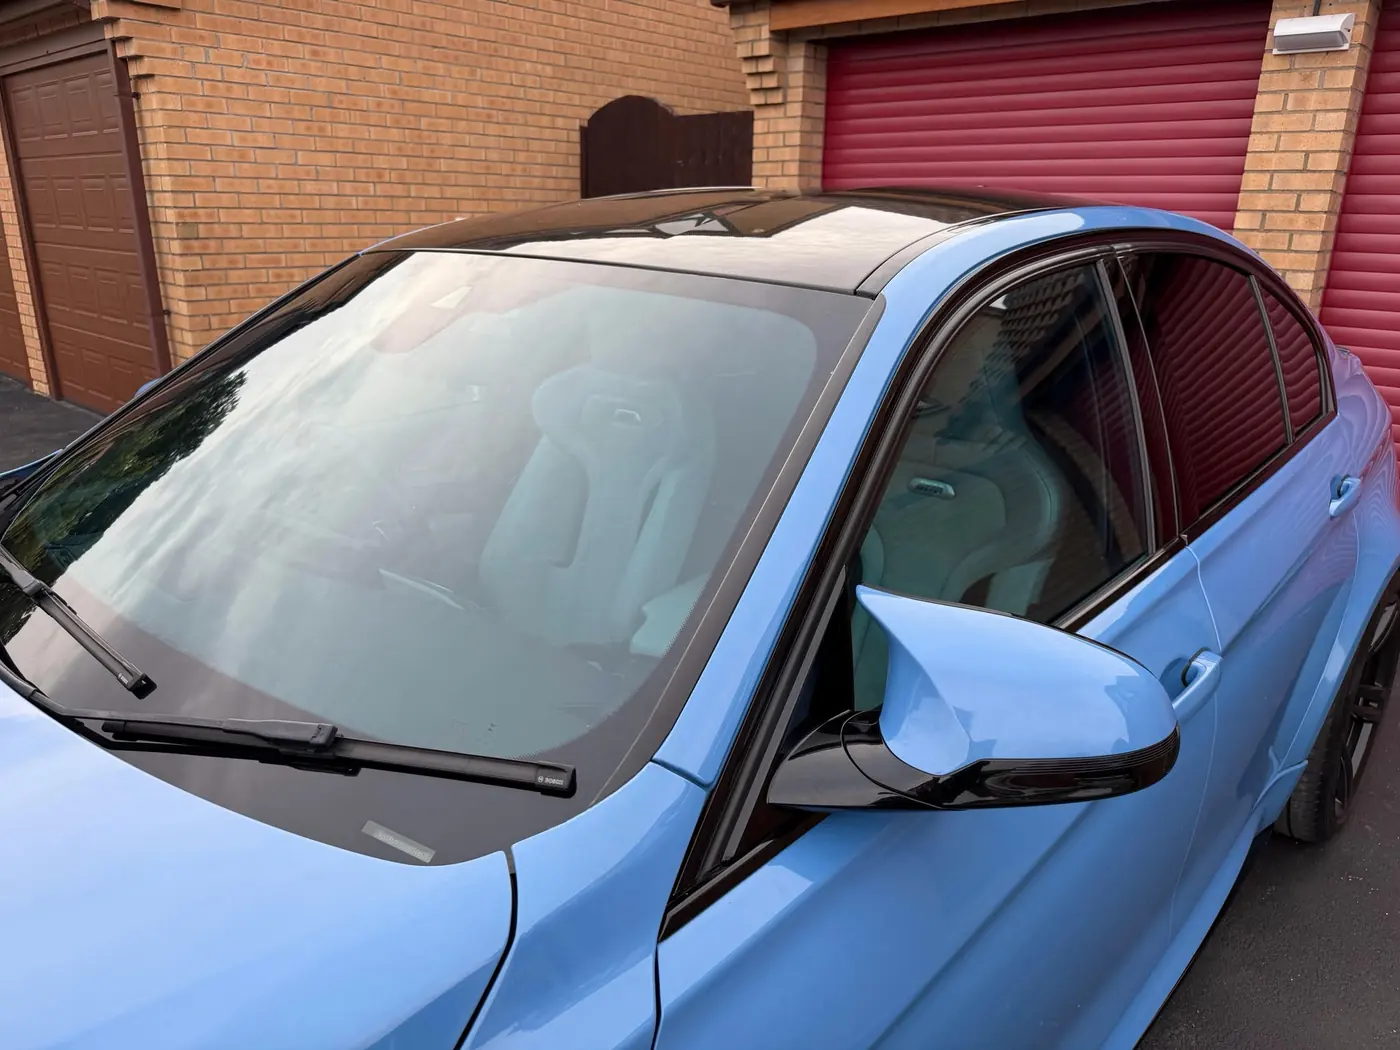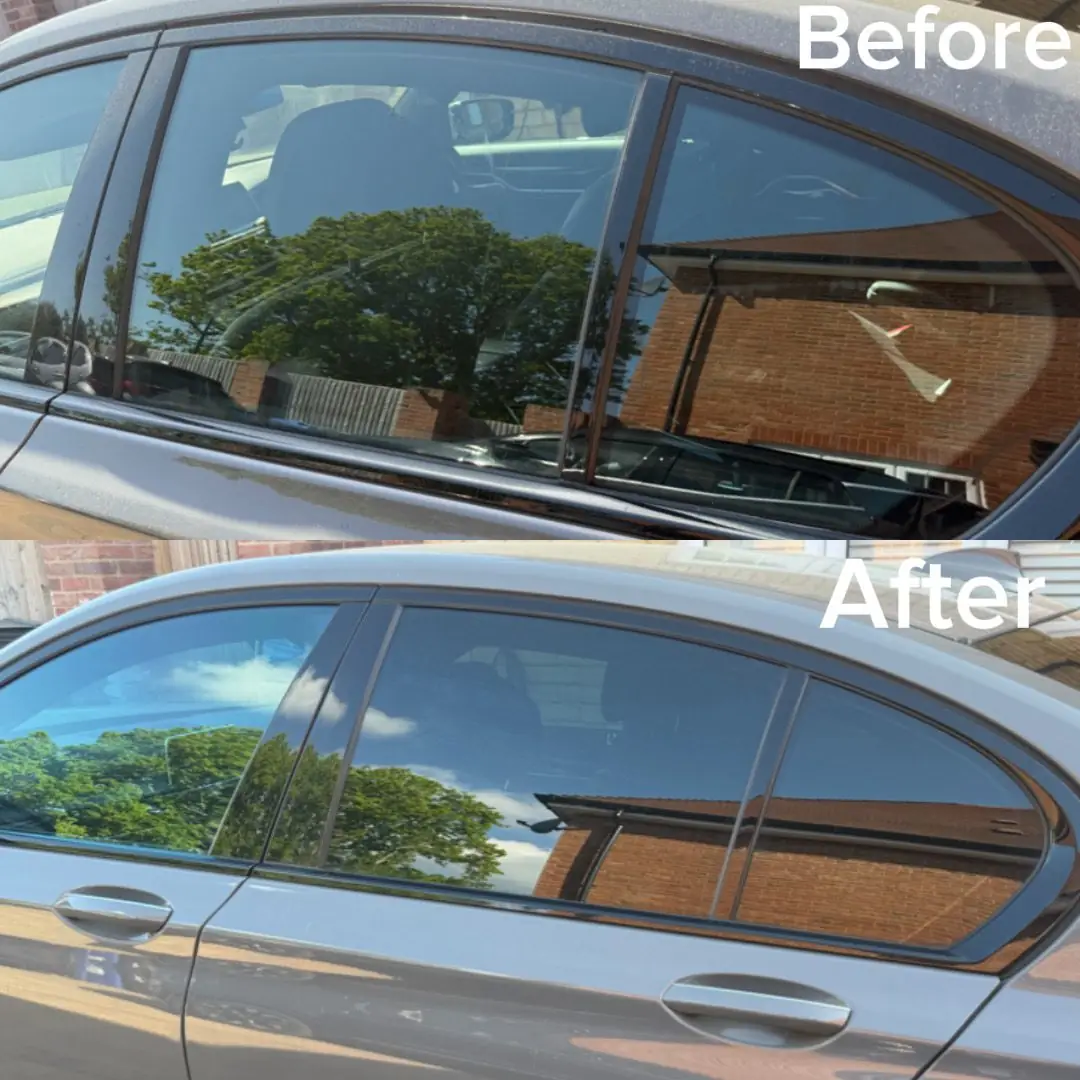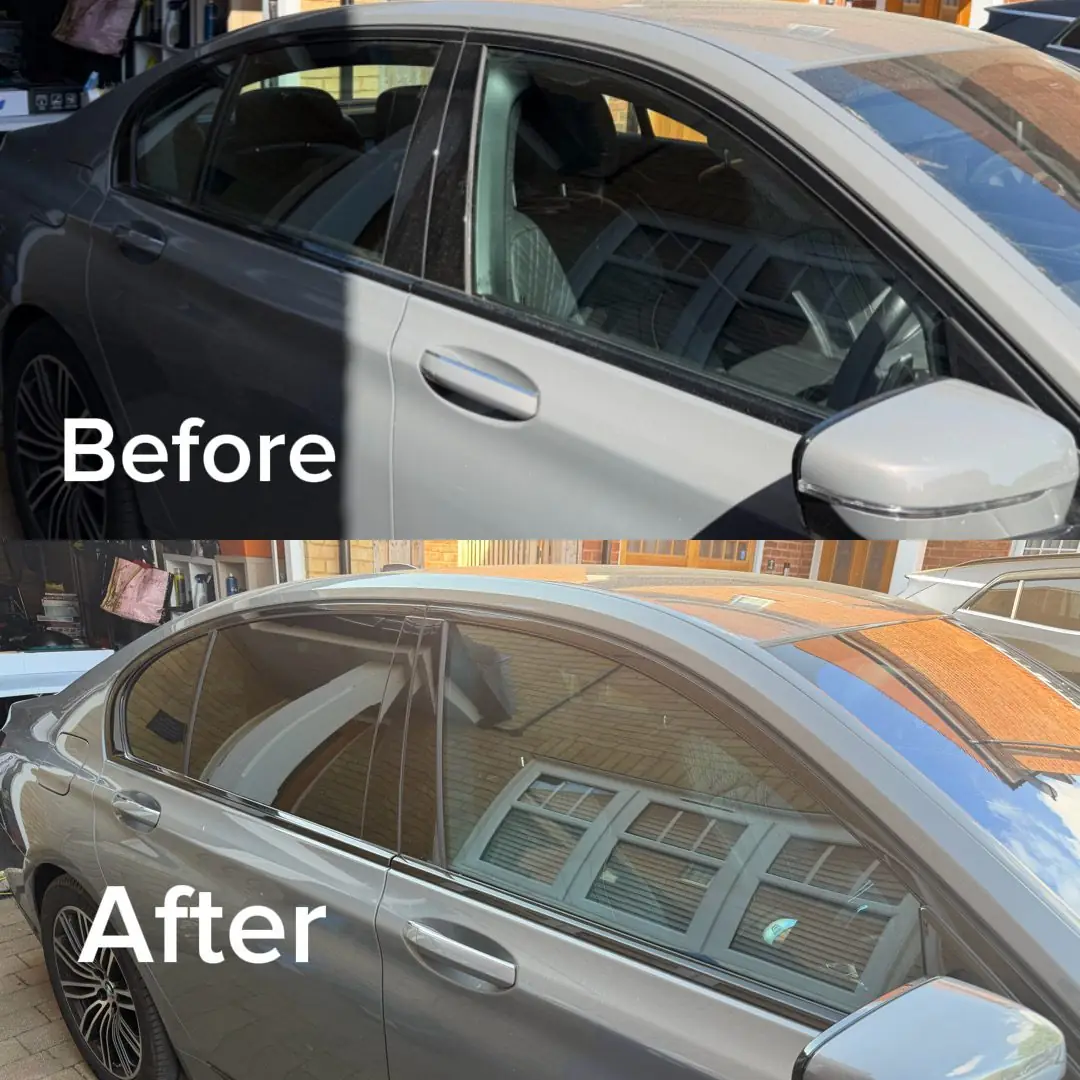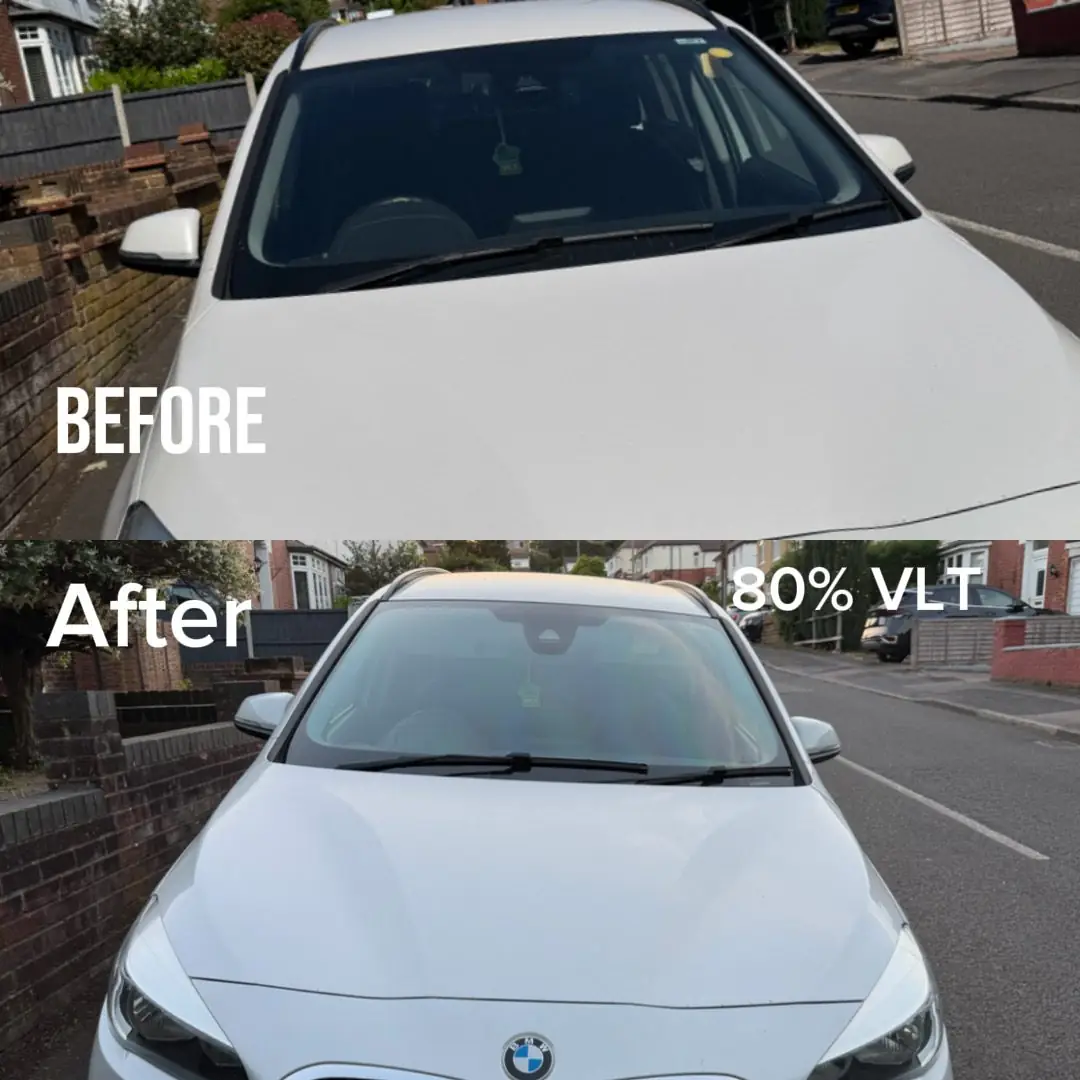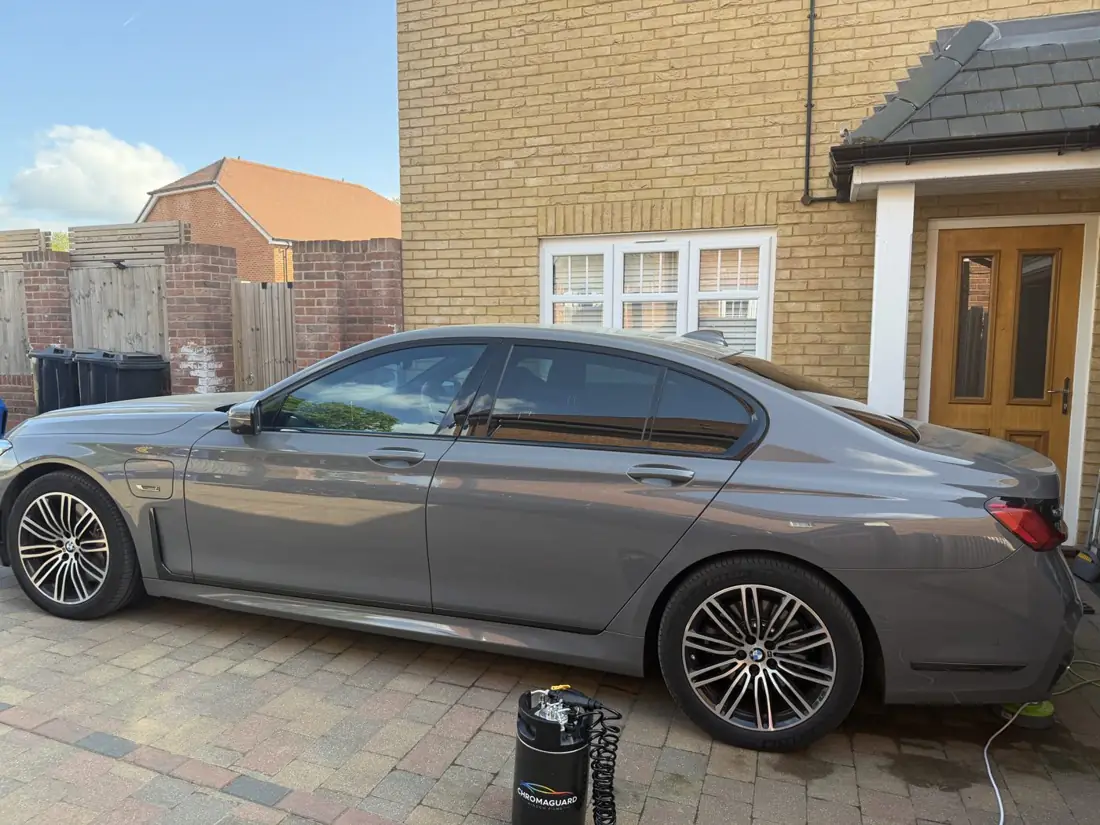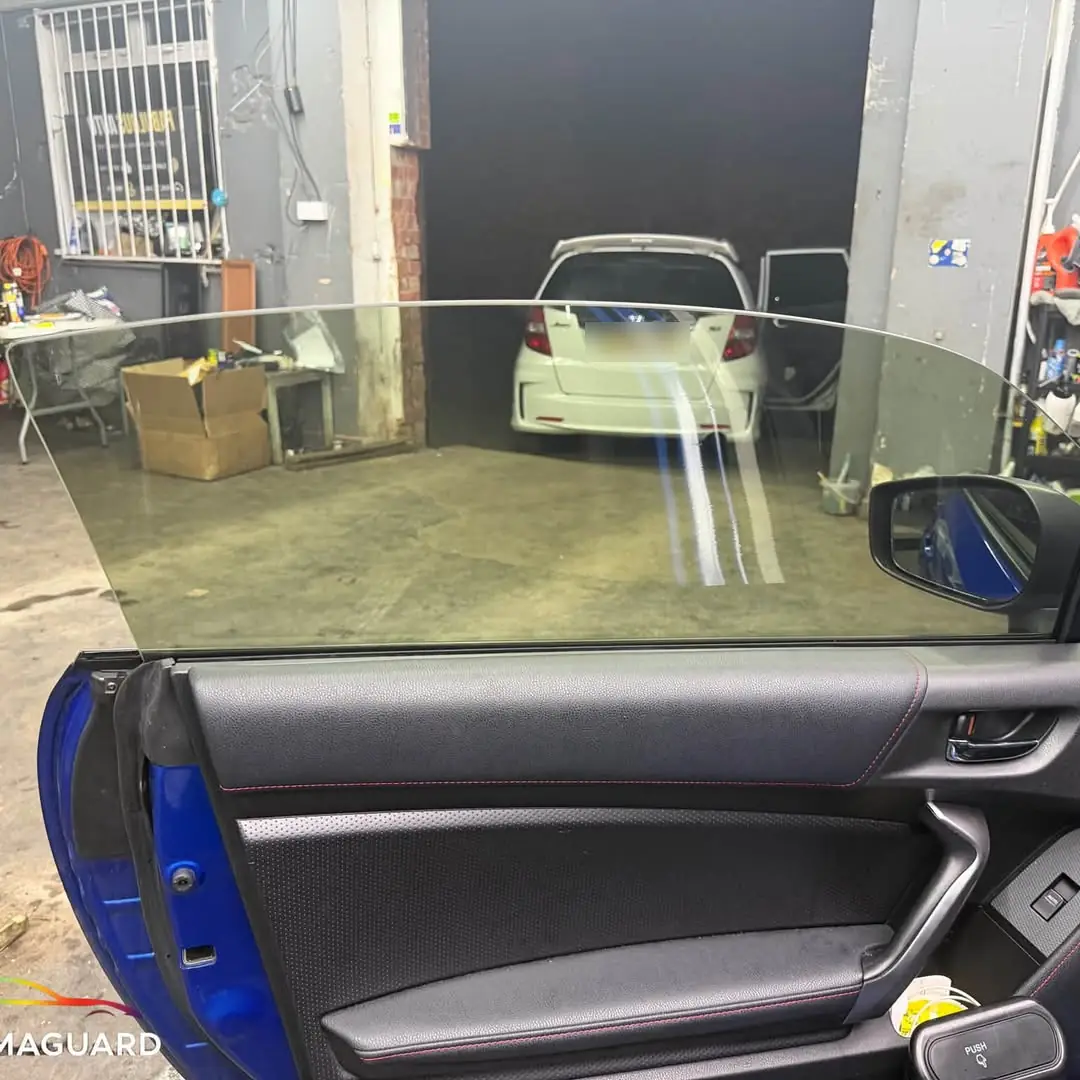

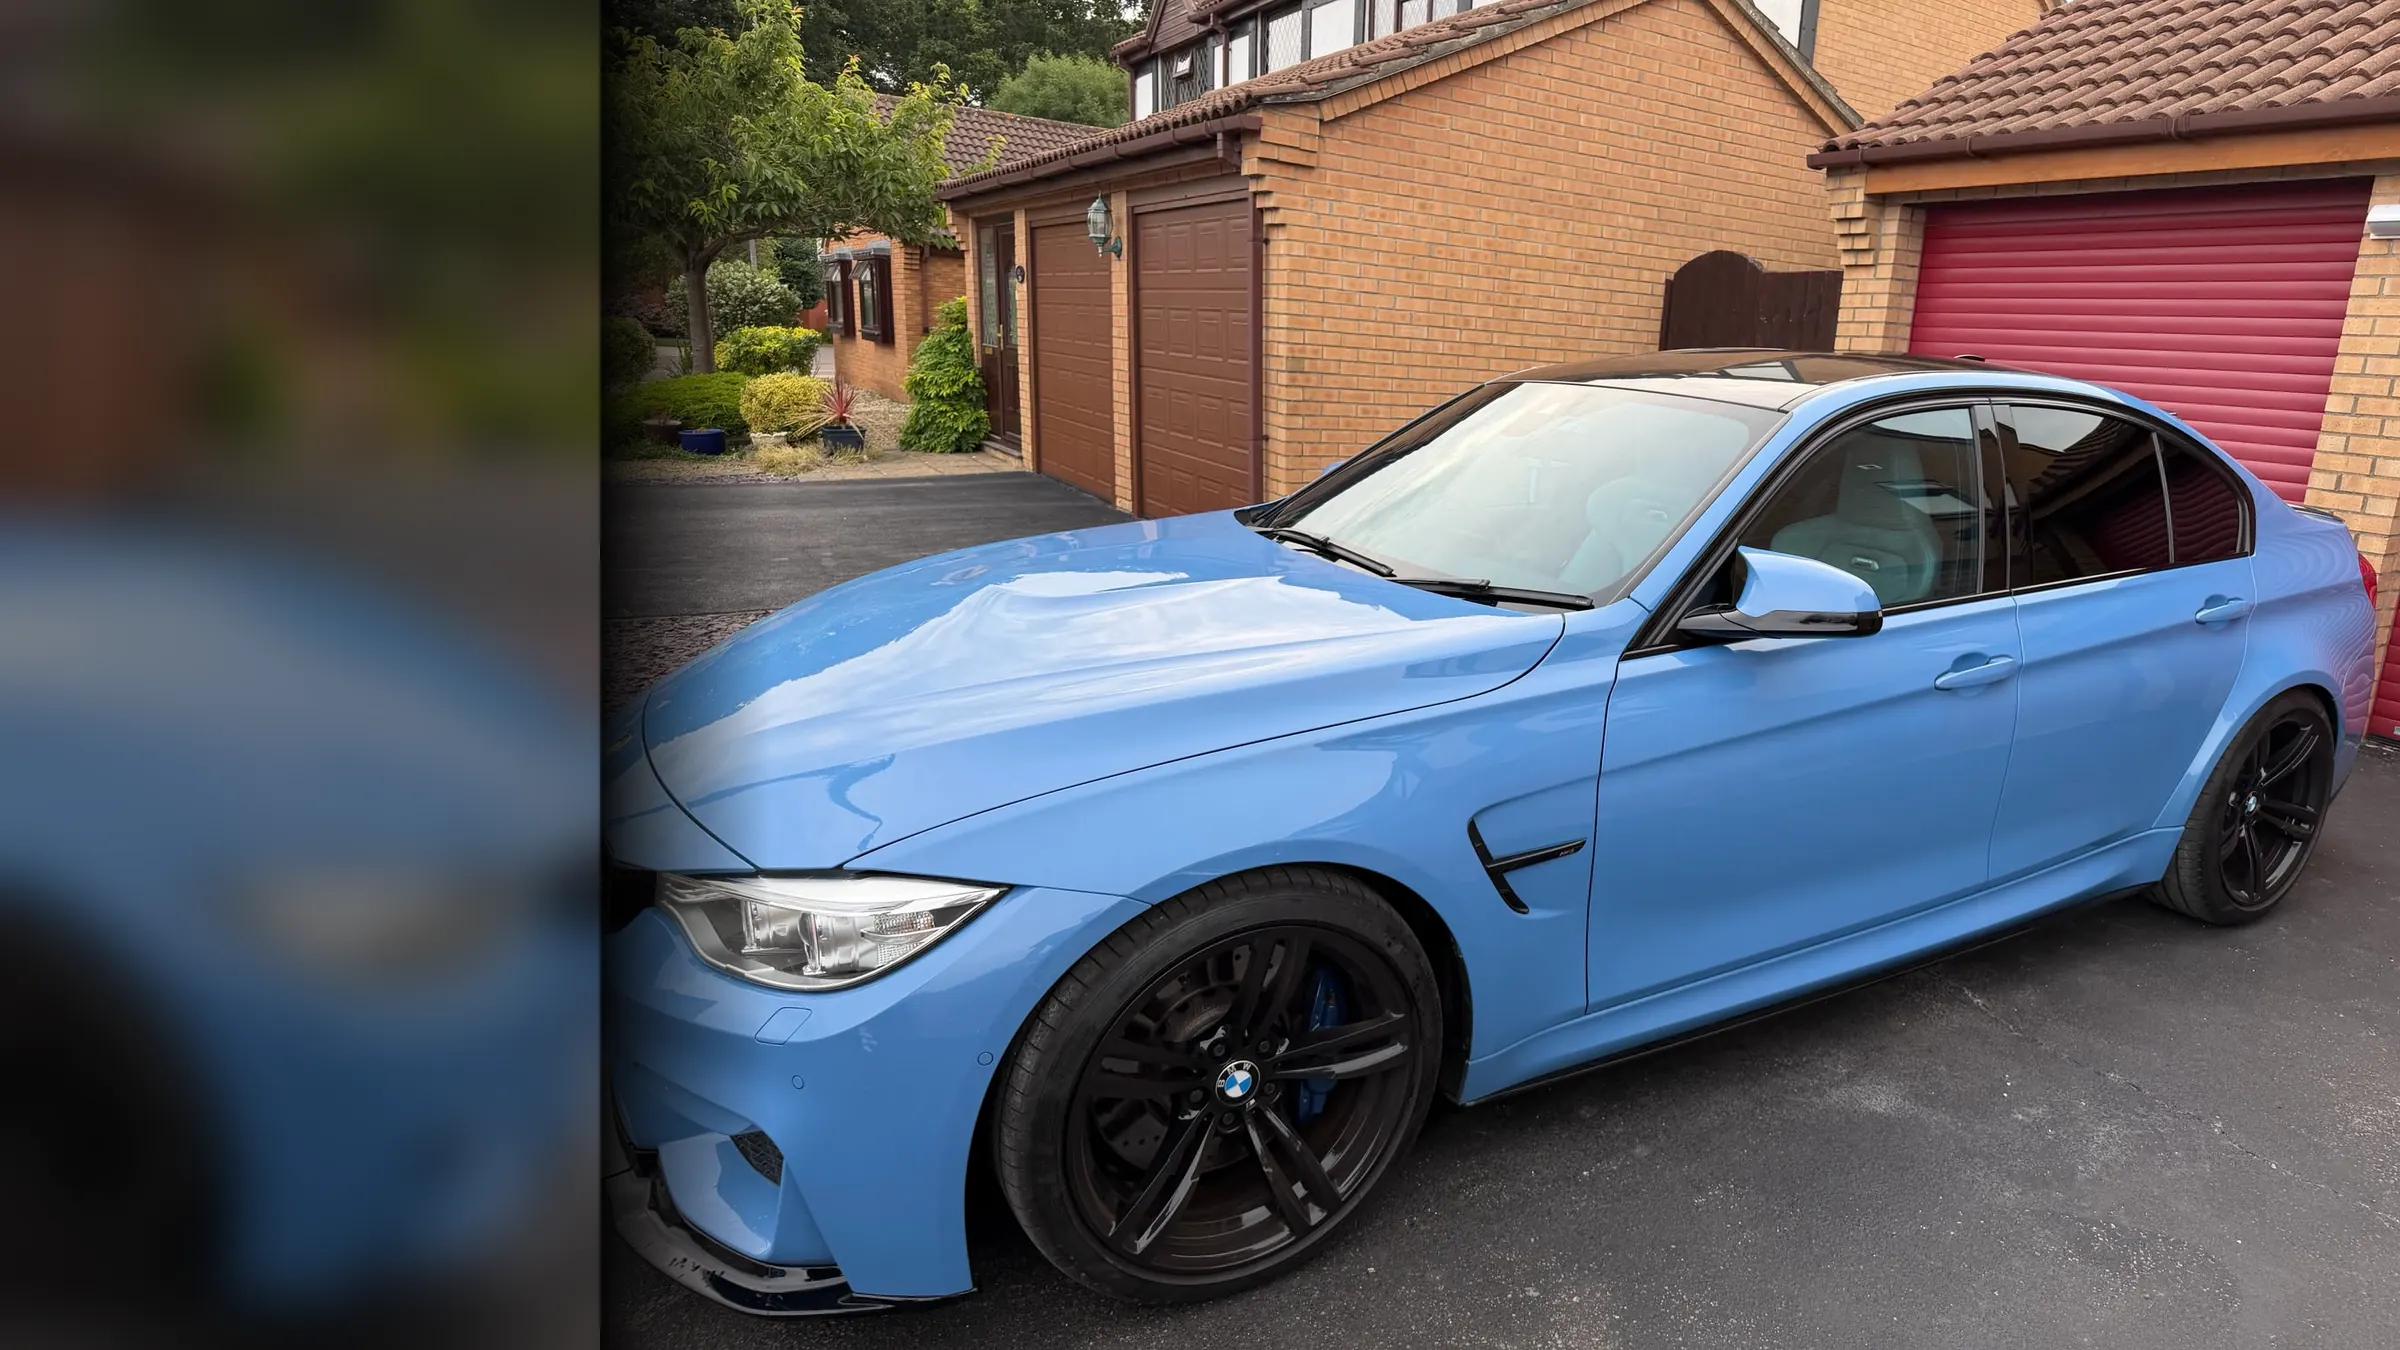

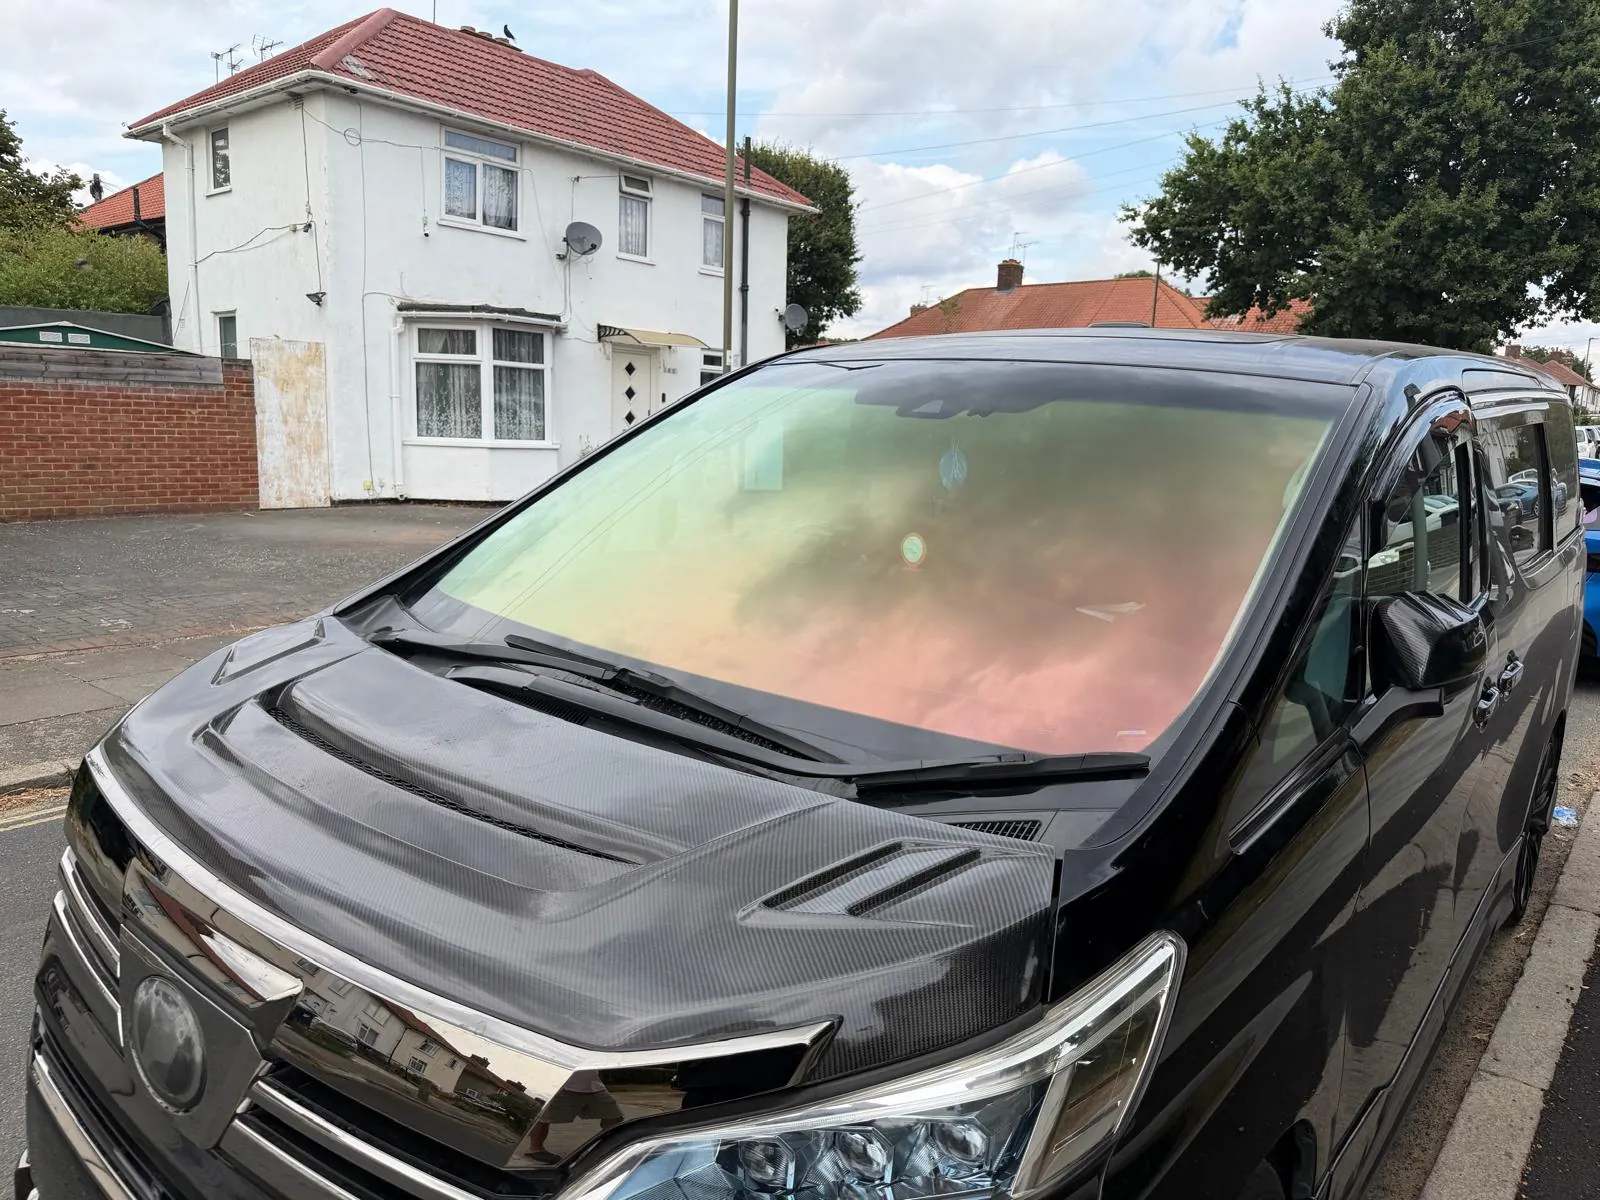

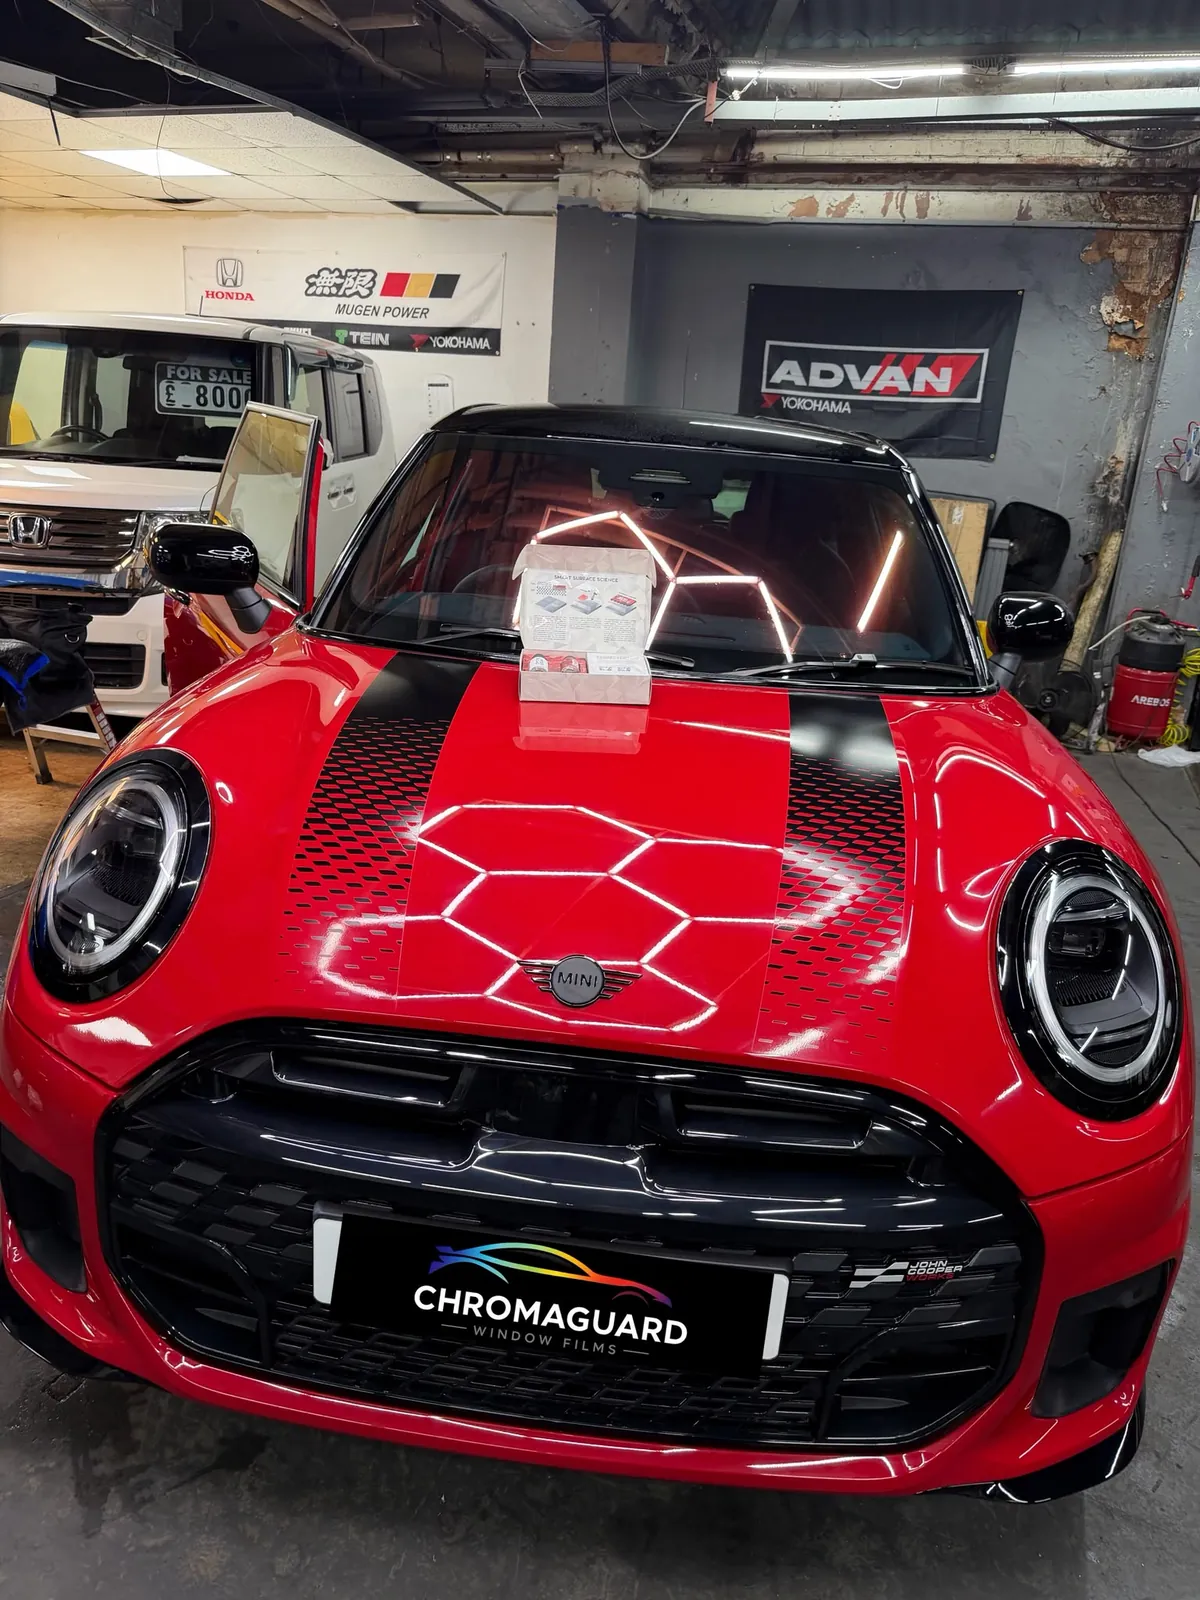
What you need
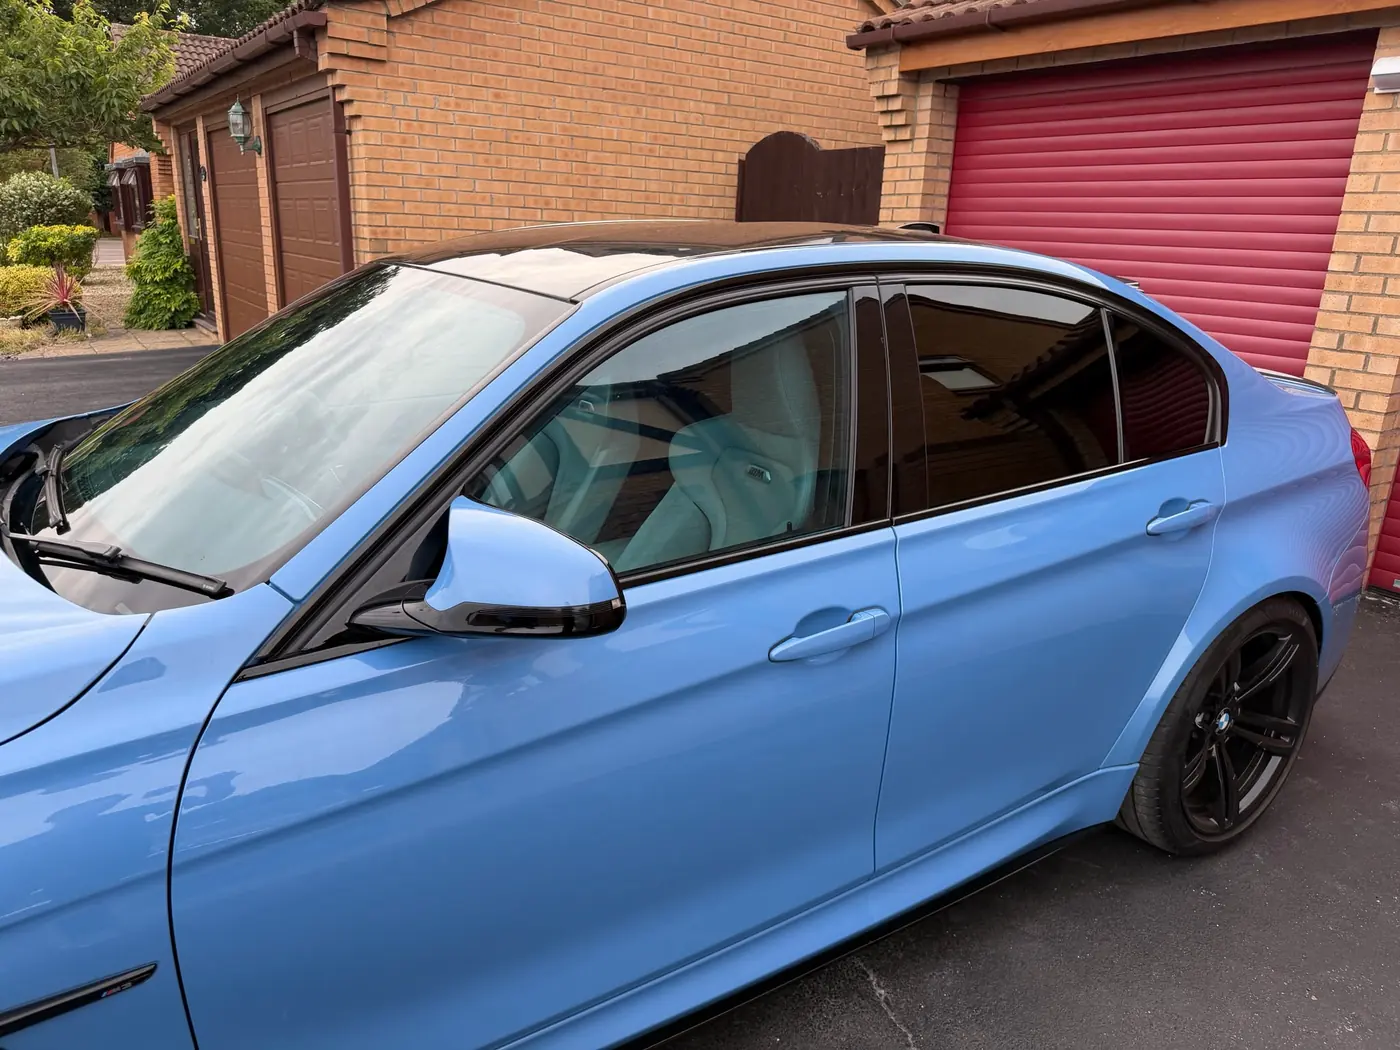
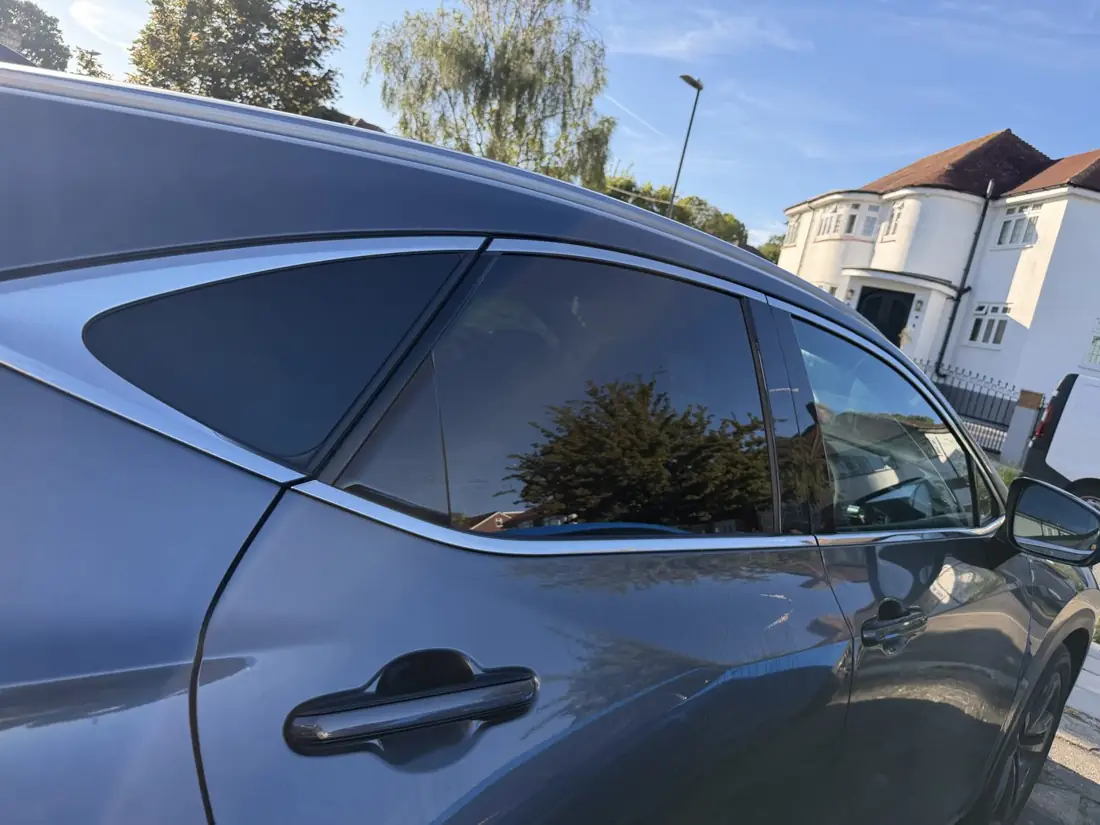
- Film cut with some spare: a 52cm × 3m sheet covers most side windows
- Spray bottle with water and a few drops of baby shampoo
- Hard card, soft squeegee and a sharp snap-off knife
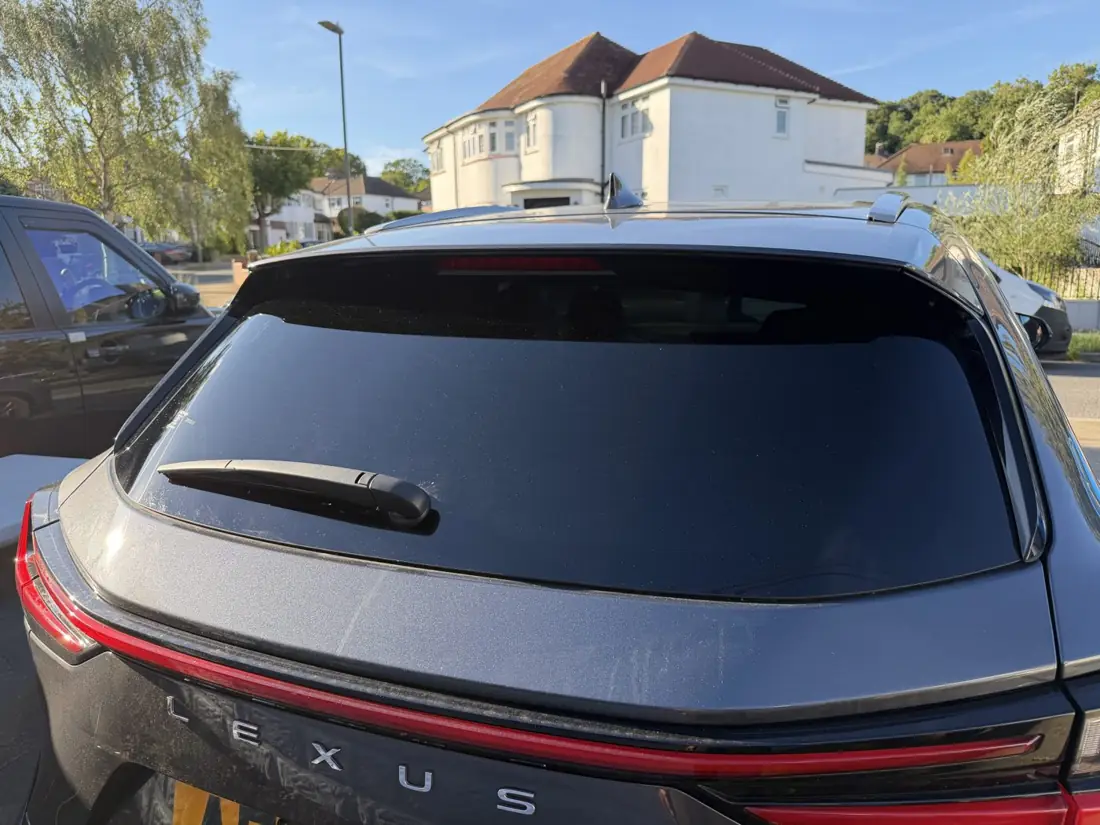
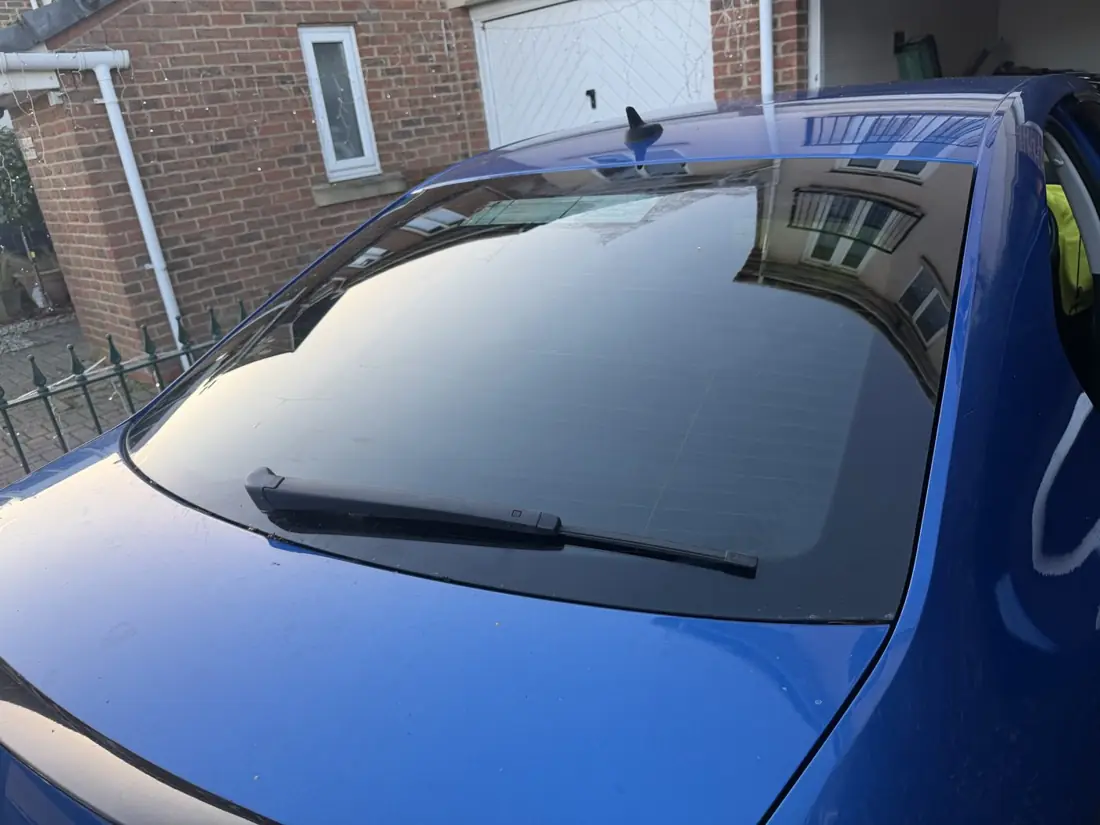
- Lint-free cloths and a heat gun for curved rear screens
Our Starter tool kit has the basics; the Pro kit adds what we use in the studio.
The order of work
- Clean the glass twice, including the edges and seals. Dust is the main cause of specks.
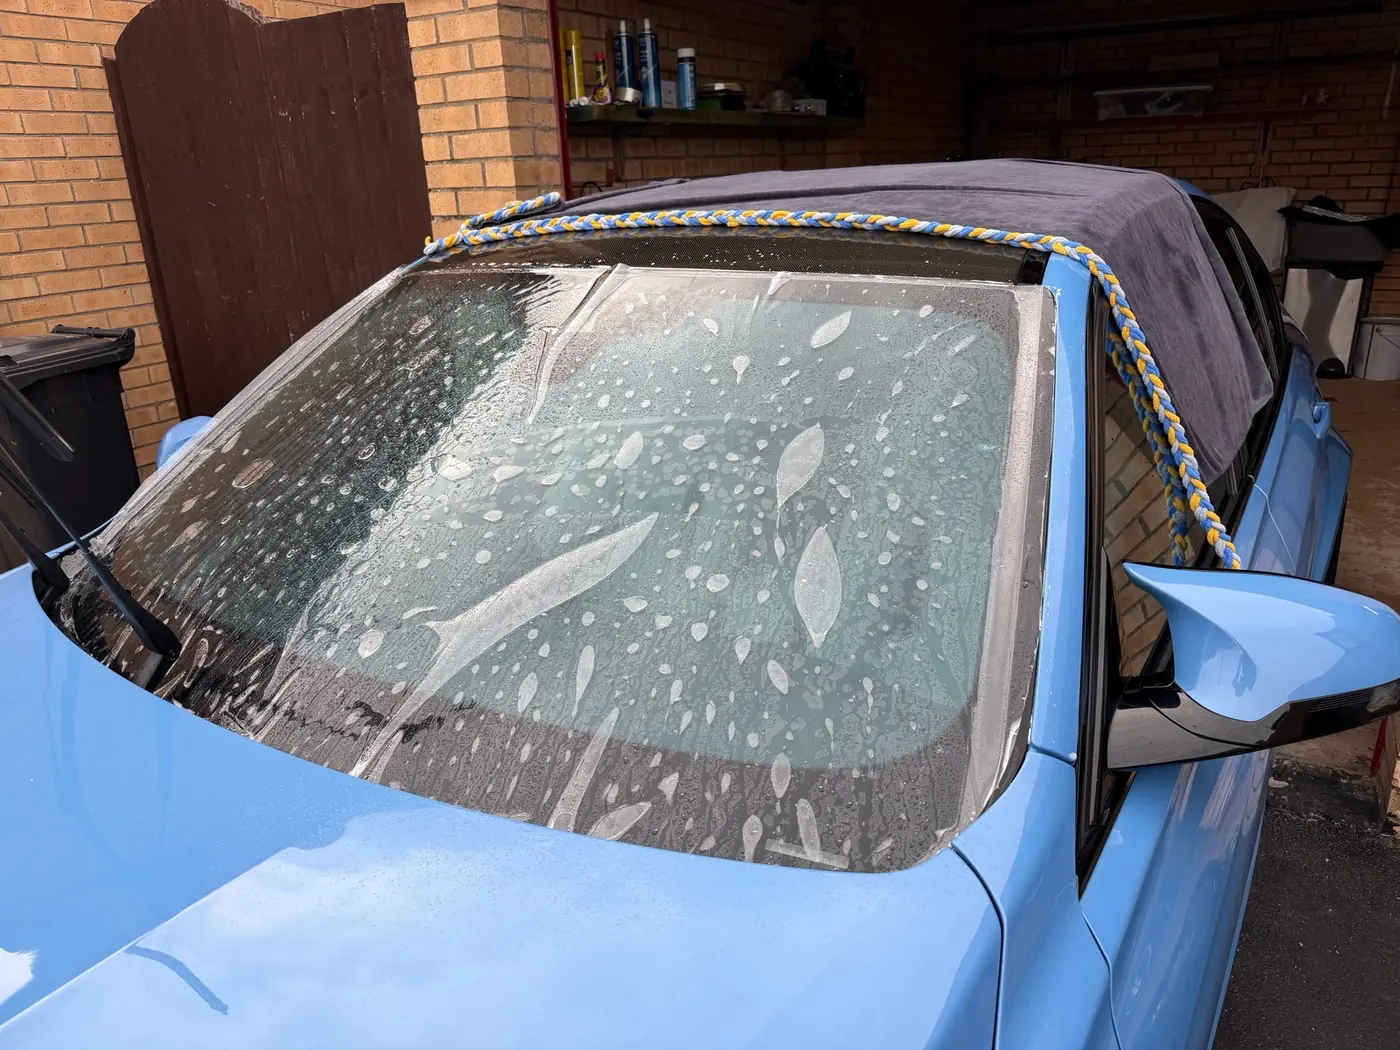
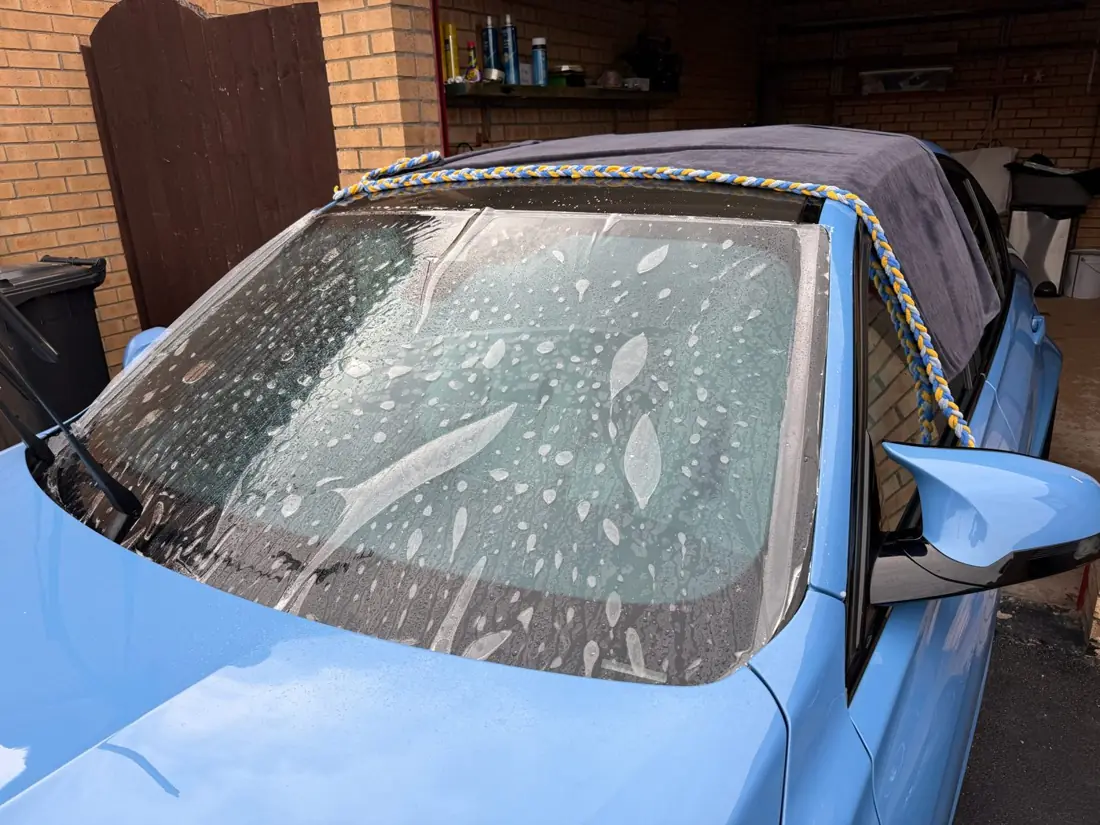
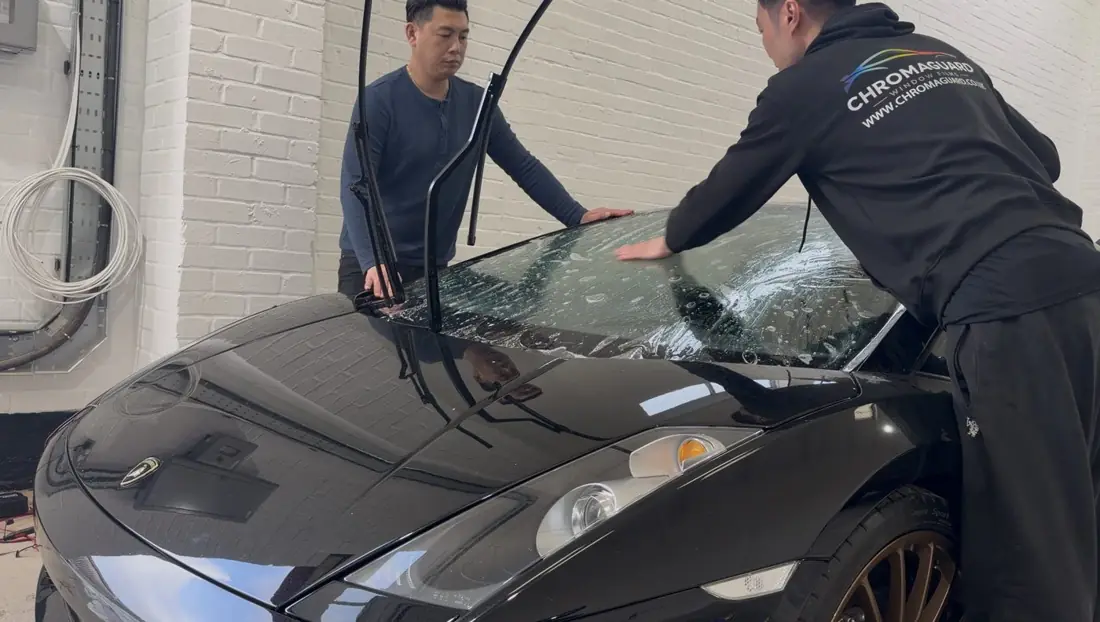
- Cut the film roughly to shape on the outside of the glass, liner facing out.
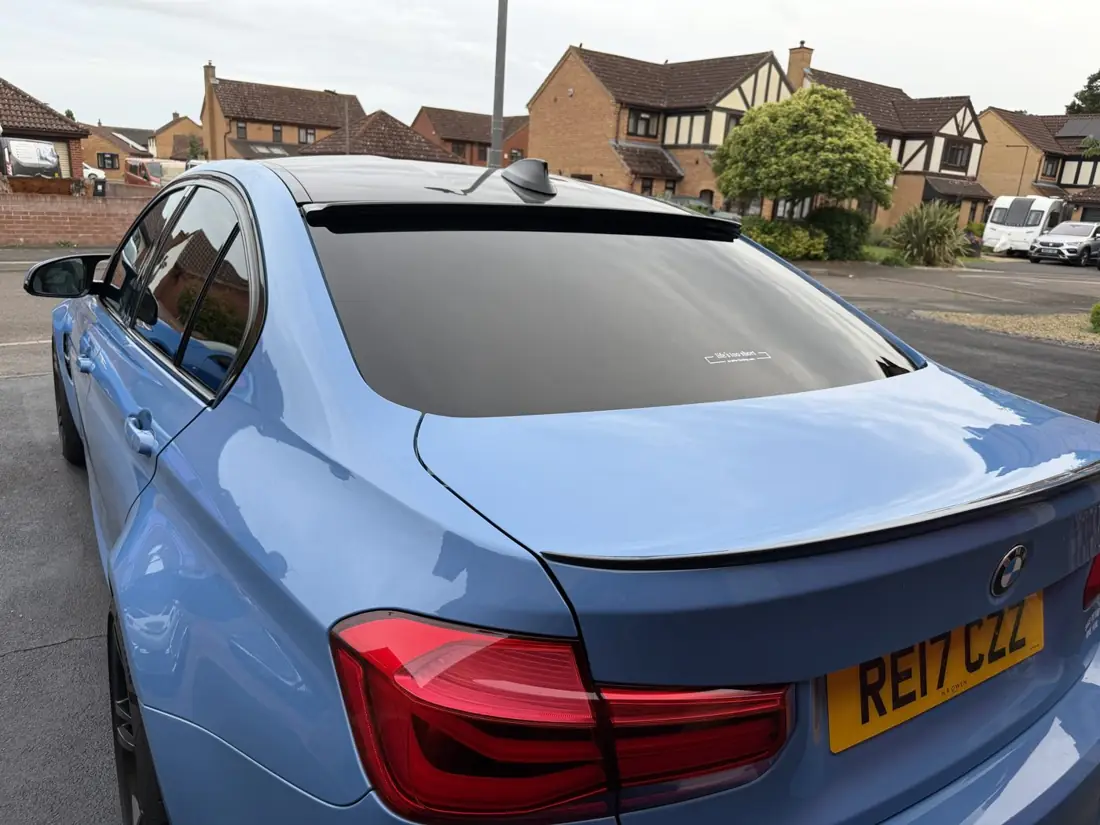
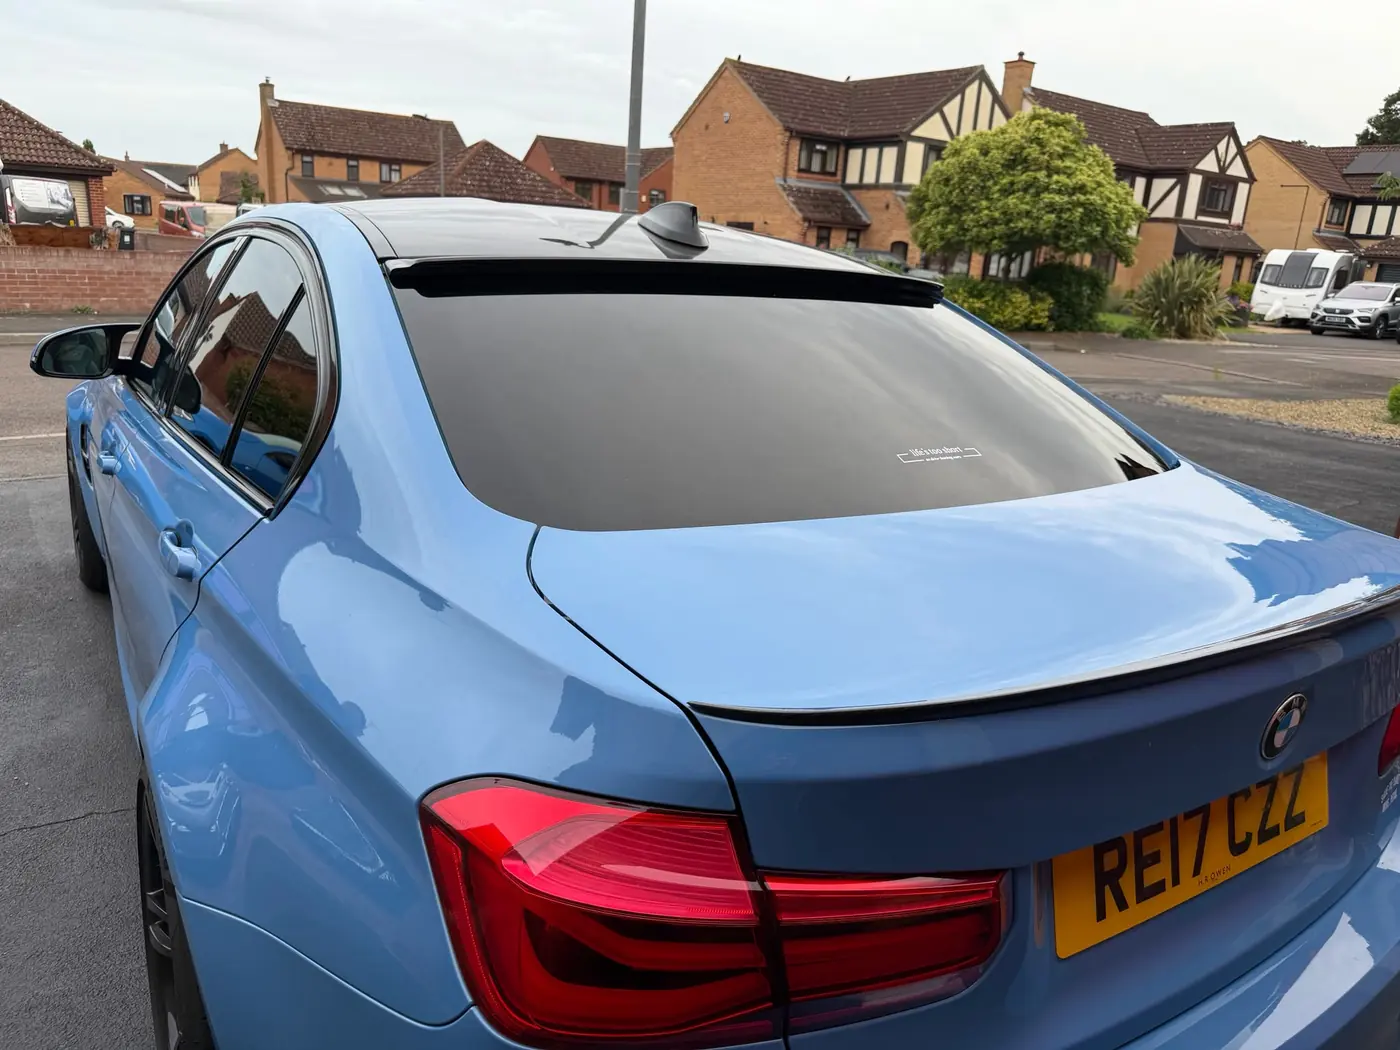
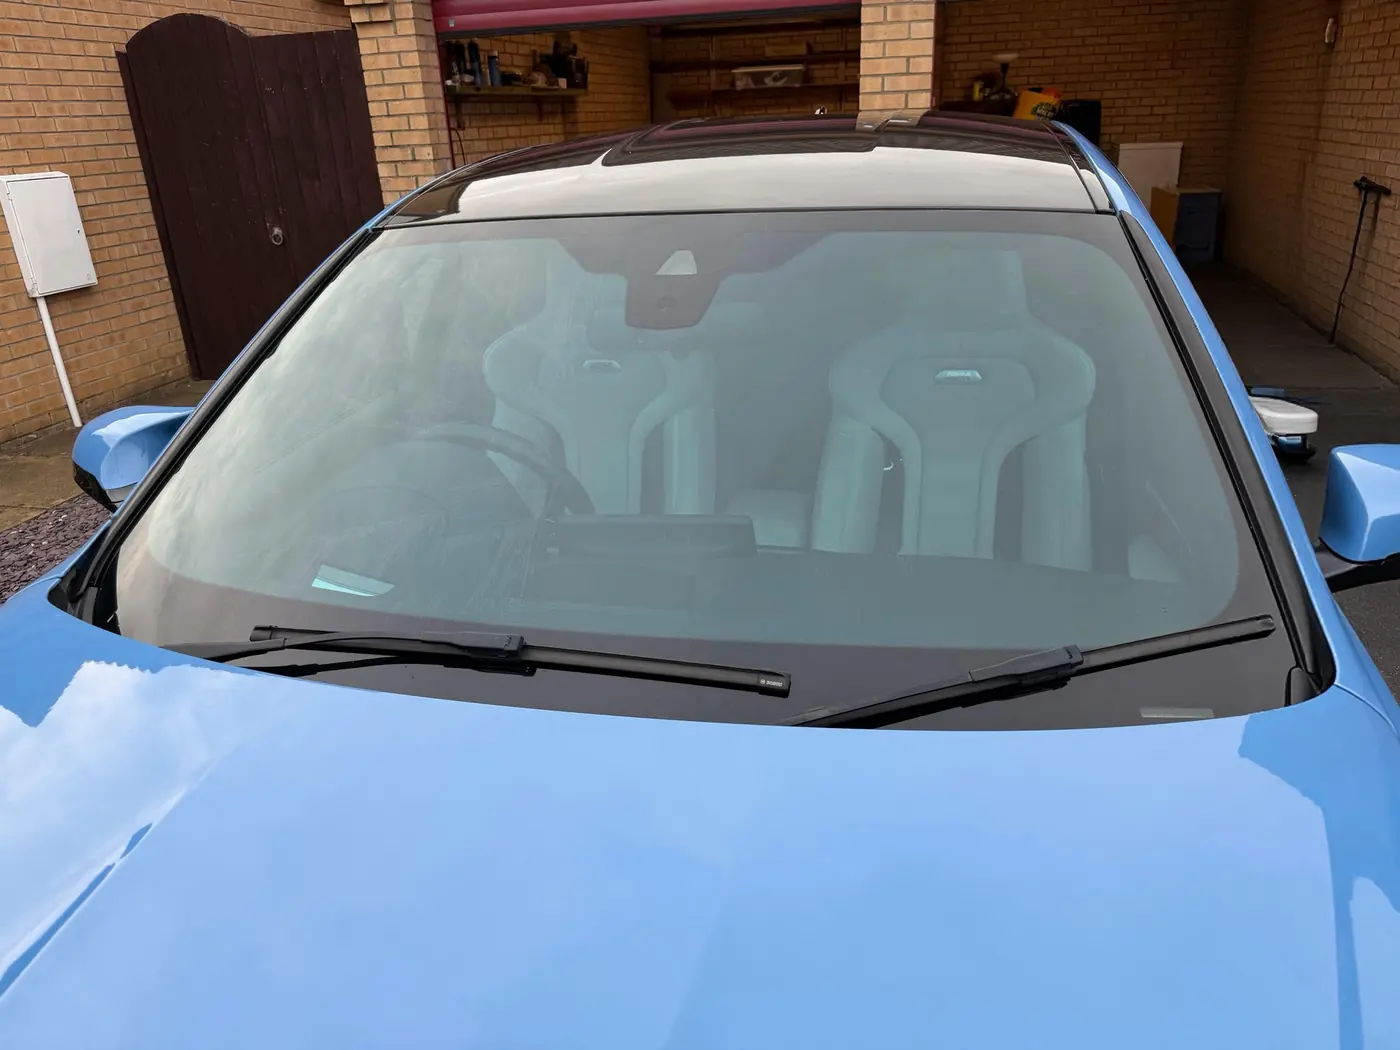
- Shrink curved screens on the outside with gentle heat until the film lies flat.
- Spray the inside glass and the adhesive side generously as you remove the liner.
- Apply the film, slide into position, then squeegee from the centre outwards.
- Trim the final edge and push out remaining water with the hard card.
Most common mistakes
- Not enough slip solution, so the film grabs before it is positioned
- Working in a dusty or windy space
- Rolling the window down before the film has cured
When to call us instead
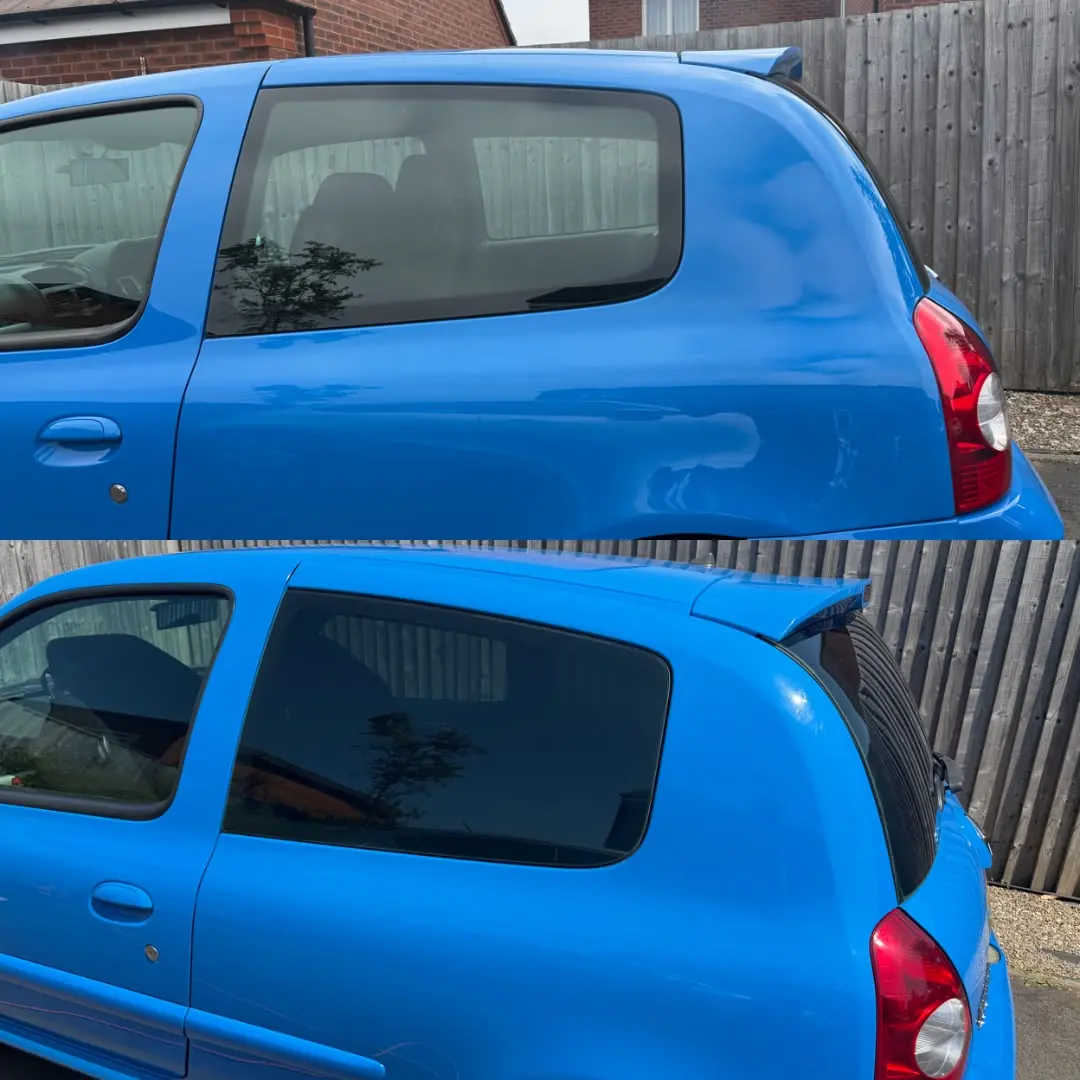
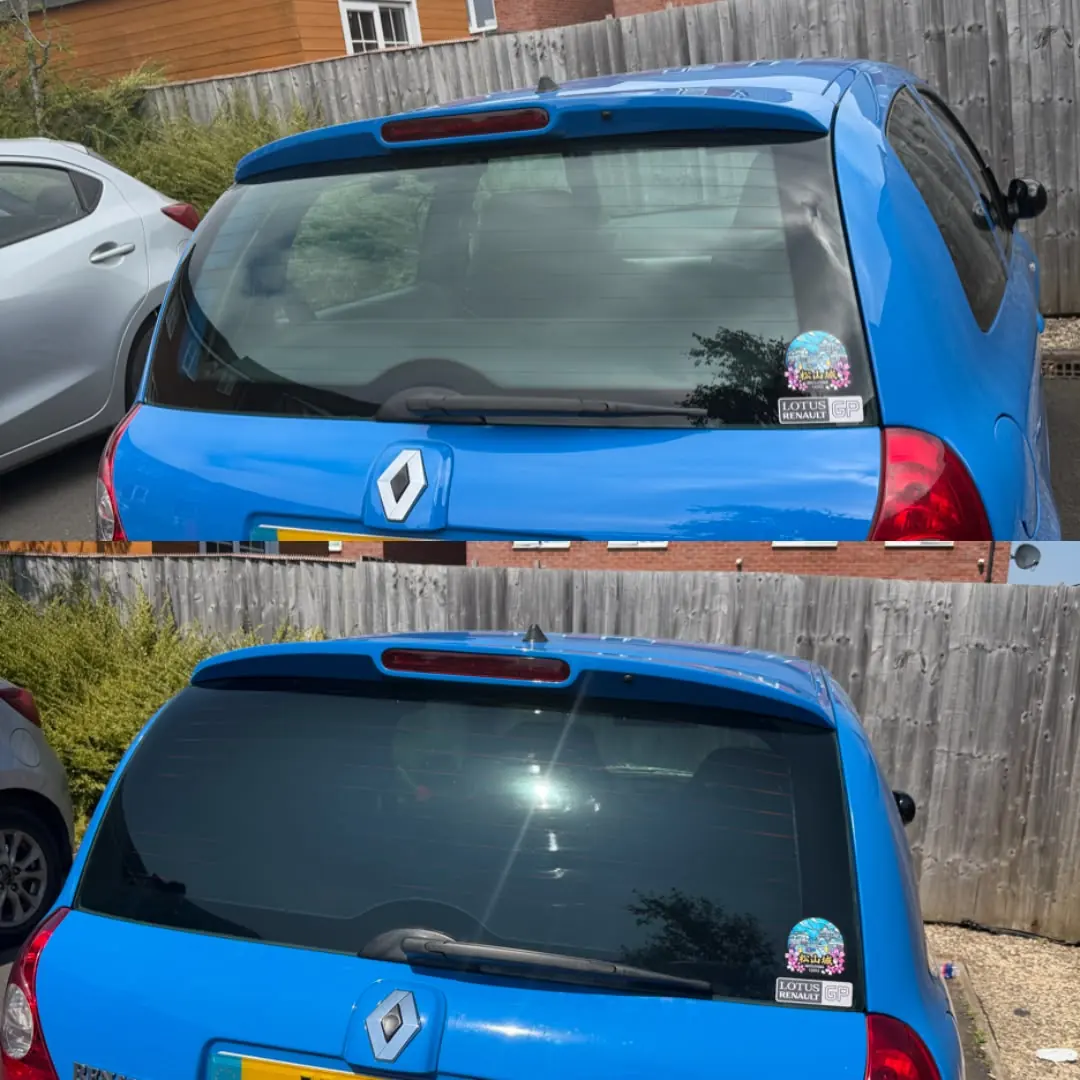
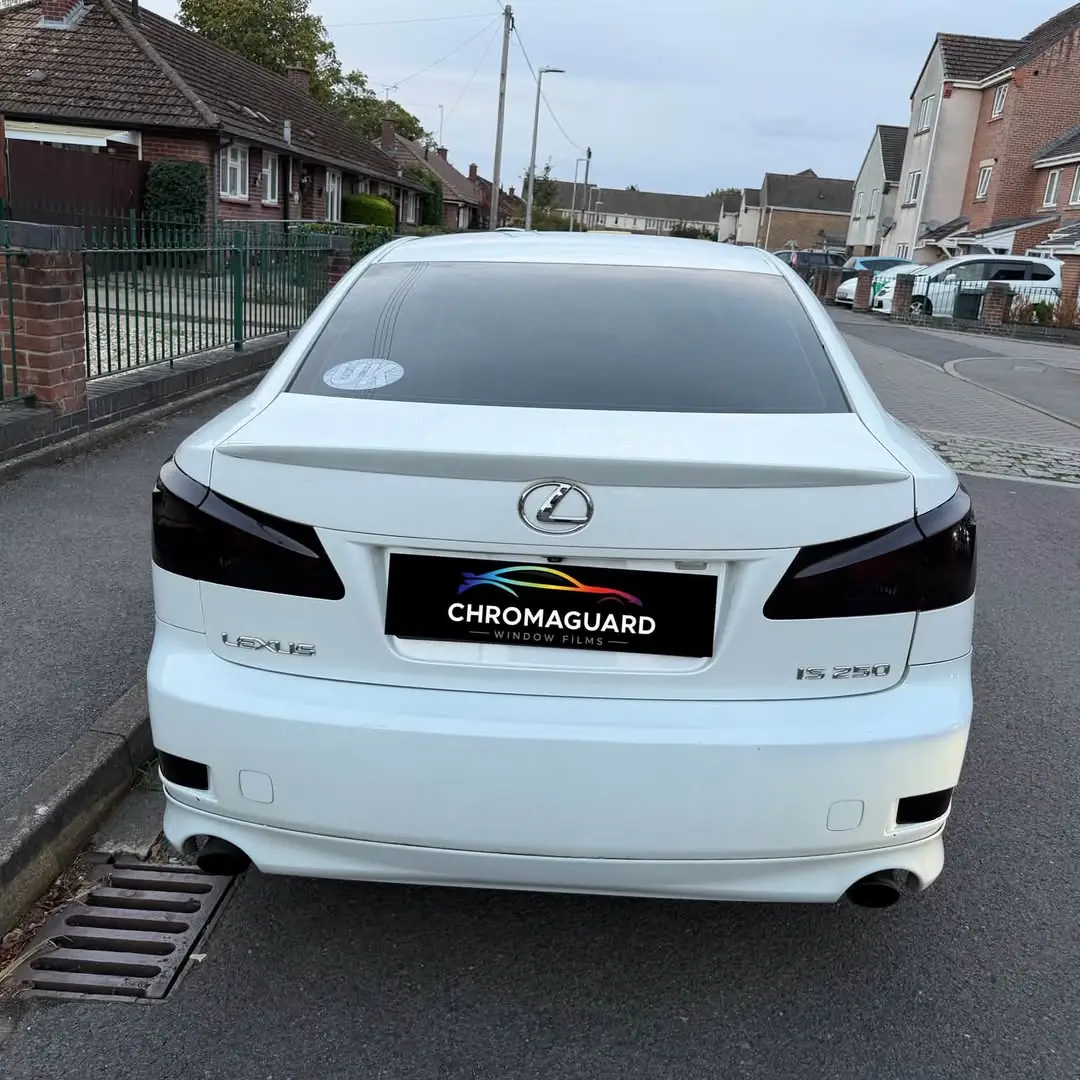
Rear screens with heavy curves and dot-matrix edges are hard to get right first time. If you would rather not risk it, book a fitted tint from £100.